So I left off last post with the basic 4 walls of the room. During this past week I have added the window frames and done the one wall in brick as my design was planned. Some interesting things to note along the way though.
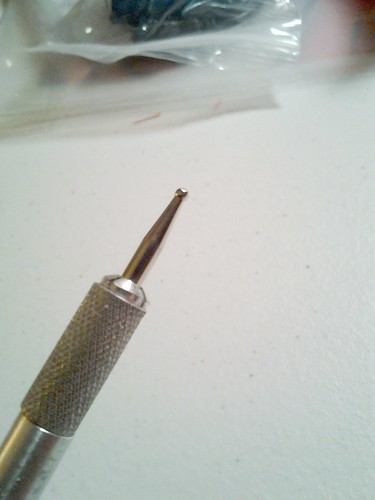
As I said, part of the design for the apartment had one of the walls as red brick, so I wanted to stick with that. I started by thinning down some acrylic tan paint to paint the foamboard. I found that from a test piece, that when painted, the acrylic impregnated the paper and made it take the scoring better without causing as much tearing as it would have on the bare paper. I then took my burnishing tool and after measuring out the 1/2" increments on the foamboard I used my ruler to scribe the brickwork into the board.
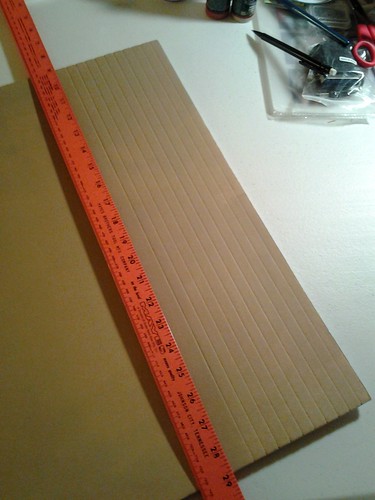
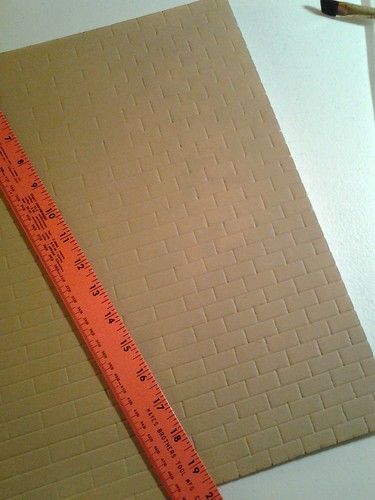
My original plan was to use a tan undercoat as the mortar, then drybrush / roller paint the red for the bricks. However it didn't look as good as planned after. So once all the brickwork was done, I just painted over the entire piece with the red I planned on using for the bricks. Once that was dry, it was time for the window frames. I found some nice plastic dollar store picture frames that I thought would work nicely.
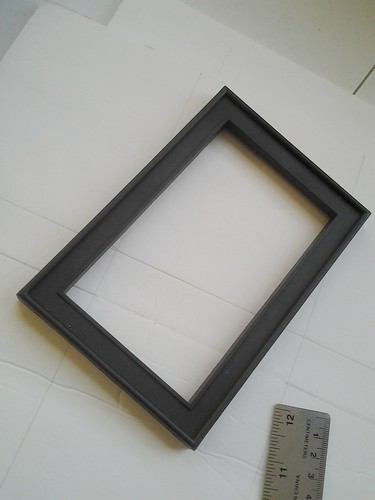
So I measured my holes for the frames and cut them out. Then test fit the frames in place.
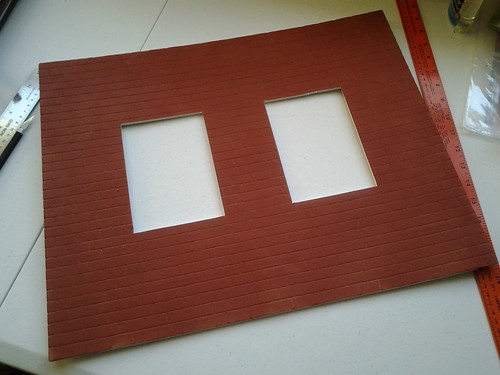
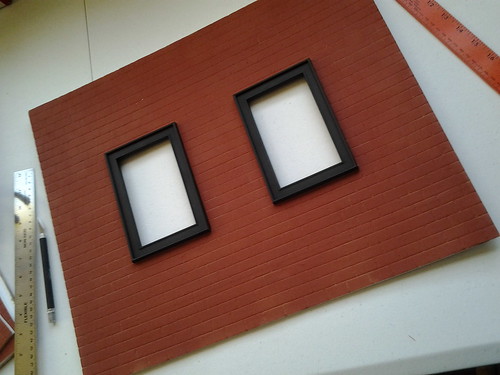
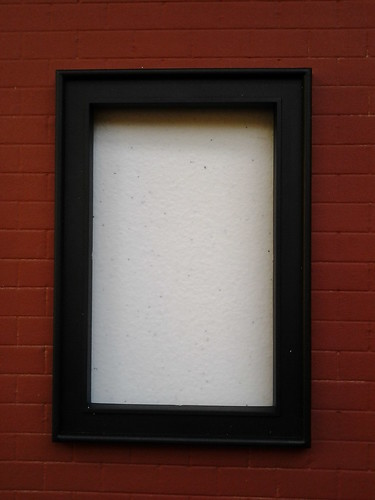
Now, I had mentioned that there was something interesting of note during this project. Now that would be what happened after the window fitting. It would appear that the edged of the paper started to come loose. So I peeled it back some and was going to glue it down again, only to find that the entire paper covering peeled off with ease. So, I peeled it all off... in one whole sheet to expose the foam underneath, which still had the perfect brick pattern on it. I guess the thinned paint as well as the scoring loosened the paper adhesive.
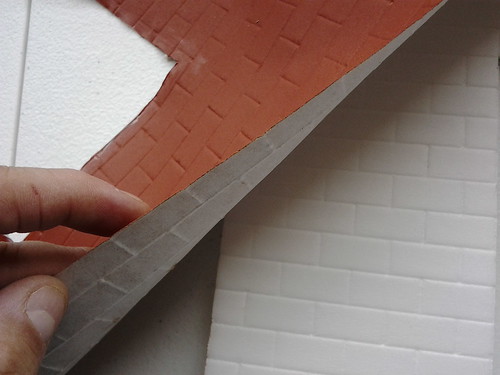
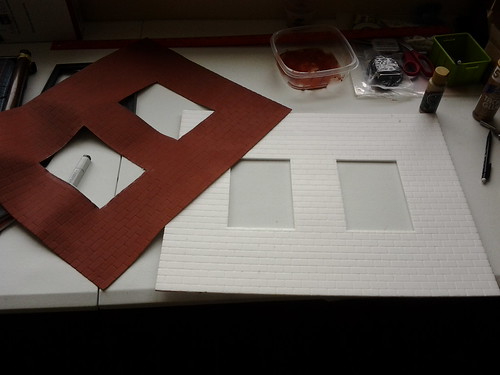
So, I simply went with it and repainted the foam with the red paint once more, and proceeded to glue the windows in place. Once the windows were dry I then got my foamboard clips and pins, fit the walls together, inserted the floor, then placed an old bed in there for scale, and set Gillian in her bedroom to inspect the construction so far.
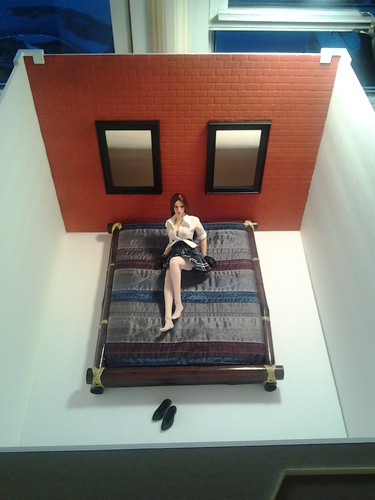
So the next steps to work on will be the doors and windows... stay tuned...
Thanks for following.

3 comments:
I love the idea of using the foam board clips...I've never seen those before! And although I'm sure initially it must have been a pain that the paper layer pulled away, the texture looks awesome! And using the picture frames as window frames was pure genius! Looking forward to seeing more!
Thanks :)
Yes, it was just more of a shock really. But a good one in the end, as I didn't have to worry about the paper coming up anymore or getting it to fit right around the window frames.
Oh man, very nice & it's pretty Kewl how it all work out !
Looking forward to more too
OneSixaddict
Post a Comment