20 December 2011

UPDATE: APARTMENT PROJECT

Hey Everybody,

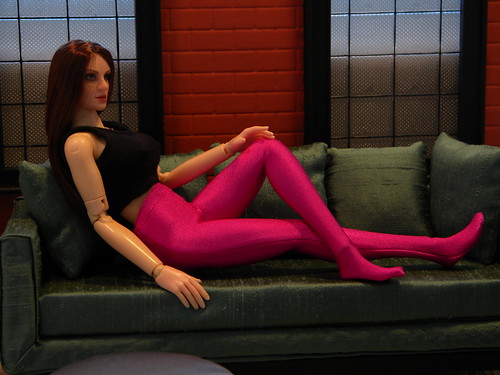
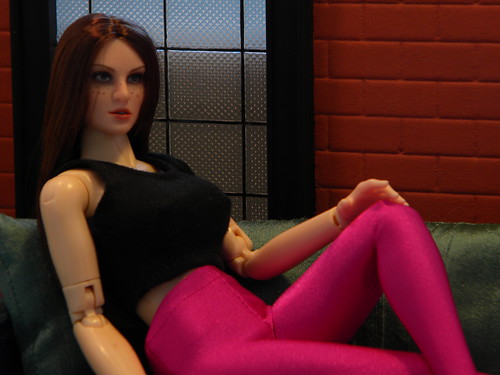
Thought I would share another apartment update with you all. Since my original design for Gillian's loft apartment wasn't going to work due to space constraints, I was able to refigure some things with it. Since the outer wall of the building with the windows was supposed to go from an open bedroom space into the living room, I decided that I could best use the one room as both by separating it with a wall. So now I can use the same room for both sets in the apartment... which works out nicely.

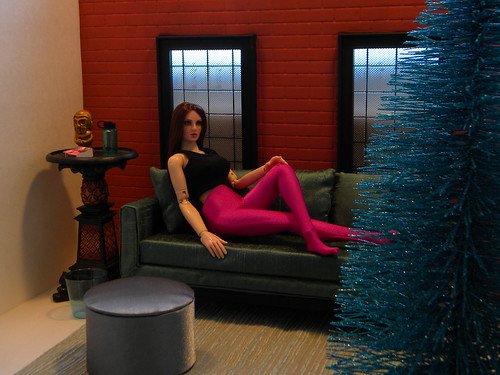
Big thanks to Corsetkitten for the awesome couch to help decorate Gillian's apartment :) Other things in the room are a Dollar Store candle stand that makes for a nice end table, the rug is a placemat (I need to do a post on the ones I have and are available.), and her modern styled Christmas tree which I got at Walmart. So here are a few holiday inspired snaps of Gillian lounging about in the living room.

GILLIAN'S APARTMENT XMAS SET A (3)

GILLIAN'S APARTMENT XMAS SET A (15)

GILLIAN'S APARTMENT XMAS SET A (12)

GILLIAN'S APARTMENT XMAS SET A (10)

GILLIAN'S APARTMENT XMAS SET A (11)

GILLIAN'S APARTMENT XMAS SET A (14)

Gillian's outfit is just something simple, top by SMcG Customs and tights by OJI Toys.

Thanks for following!

15 December 2011

MUSINGS: ROUNDING OUT THE YEAR

Hey Everybody,

Been a little while since I've had a post so It's time for one. I figure I'll share some of the things that I want to try to do to round out 2011. First off will be my Top 10 of 2011 List. I started this last year and I would like to do it again this year. This year's list is going to be mostly populated with loose accessories I've acquired over the year as I haven't really bought anything completely boxed this year. Then I want to post a rundown of projects I would like to get done in the coming year. I am definitely looking forward to the new year and would like to get a lot done and offer more tutorials in both text and photo here on the blog as well as on youtube.

Thanks for following.

29 October 2011

UPDATE: APARTMENT PROJECT

Hey Everybody,

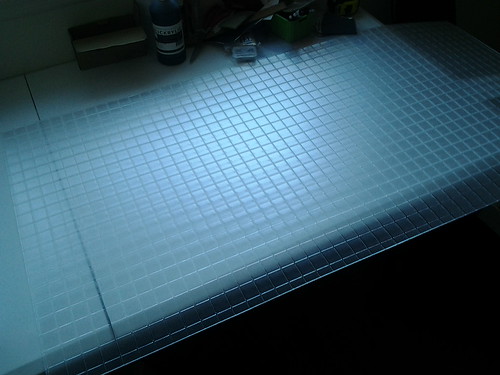
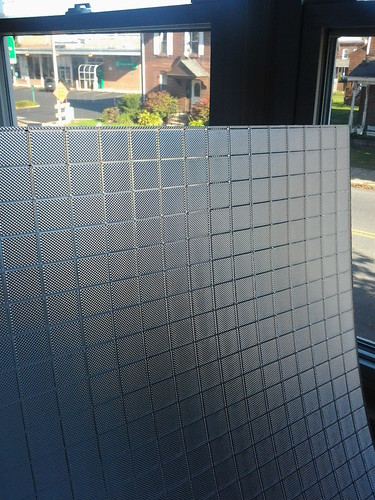
Time for the next update. So last time we saw the loft having a new bed, and now it has new windows. I found the perfect acrylic sheeting to use for the windows that kept in line with the image I had of a warehouse loft apartment.


2011-10-28 10.20.41

2011-10-28 10.20.52

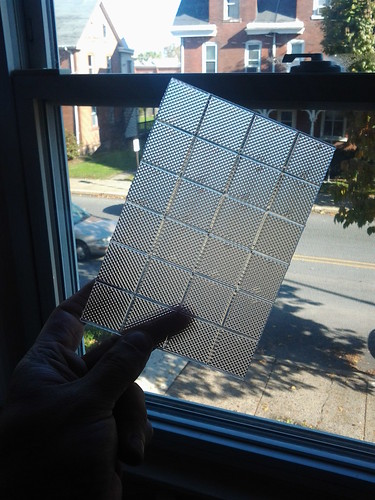
This is fluorescent lighting fixture acrylic. I picked this 4' x 3' foot sheet up for $12. It is nice to work with. Just measure, score with a knife, and snap.

2011-10-28 10.42.51

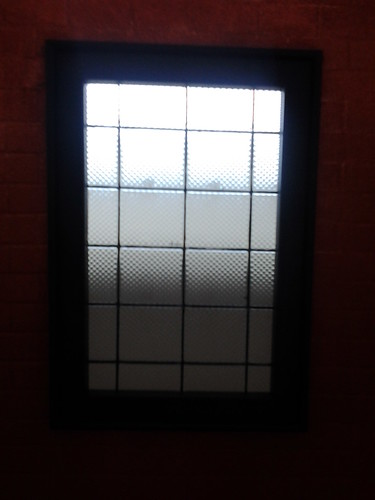
Then I simply took an enamel paint pen and painted the lines between the panes and inserted them into the picture frames I am using for the window frames.

2011-10-28 11.08.21

2011-10-28 12.28.03

2011-10-28 12.27.30

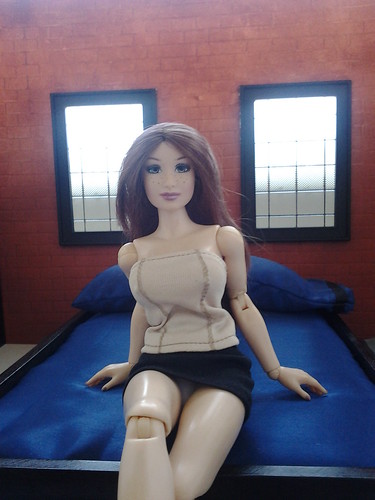
So the windows are now done. Next up is starting to make the place look more lived in and get rid of some of that empty space. The bedroom needs a nightstand, some art on the walls, and more stuff on the bookshelf.

More to come... Thanks for following.

25 October 2011

UPDATE: APARTMENT PROJECT

Hey Everybody,

Time for another update on the apartment project. I last left off with the room built and some test snaps of an older bed in the picture for scale.

2011-10-24 13.22.14

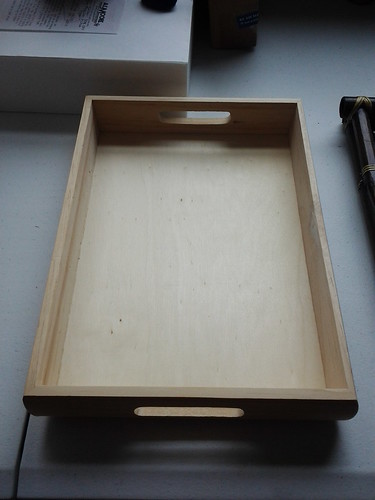
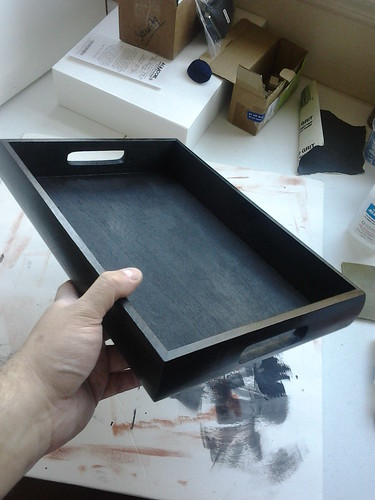
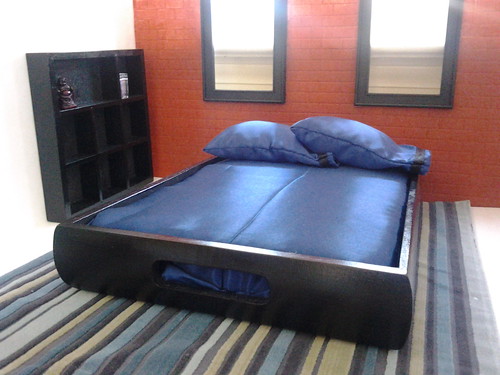
Well that old bed was a little too rustic for the style I was going for so I wanted something more modern. Since the idea of a wooden tray worked well for the rustic styled bed, I figured it would work well for a modern one too, I just needed to find the right piece.

2011-10-24 13.22.04

2011-10-24 13.22.37

2011-10-24 13.22.23

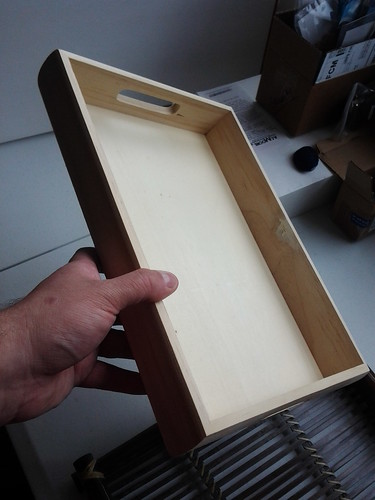
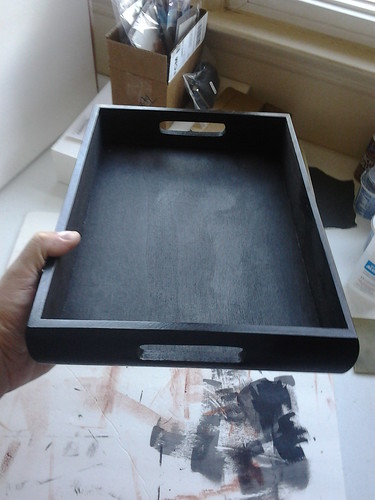
So at my local A.C. Moore crafts I found an unfinished 10" x 13" wooden tray that I picked up for $5. I grabbed my sanding sponge to sand it down and set to painting it, just a simple black with gloss sealer to match a shelving unit I had for the room already.

2011-10-25 10.17.21

2011-10-25 10.17.07

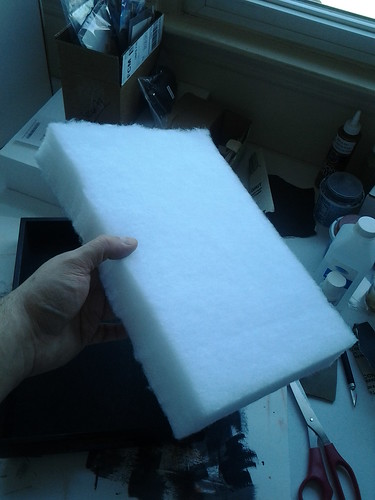
Next step was the mattress. I just purchased a 2" thick polyfill pad from Walmart and cut it to size.

2011-10-25 10.19.25

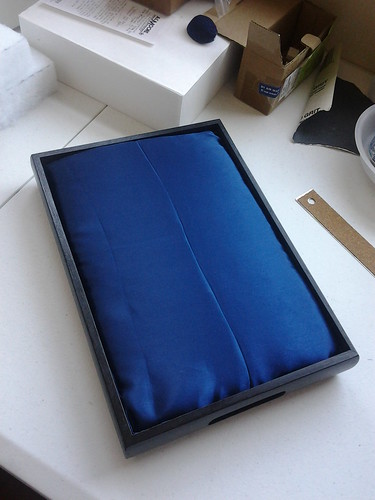
Then grabbed some blue satin fabric I had left over from a set of pillows a friend did for me a while back for the old bed. I took the satin, folded it over the polyfill mattress and pinned it. Then put the whole thing into the frame and tucked it tight.

2011-10-25 10.27.48

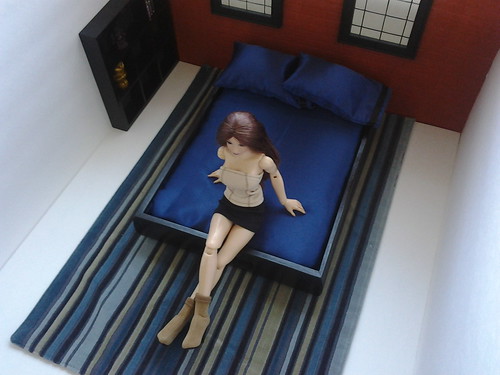
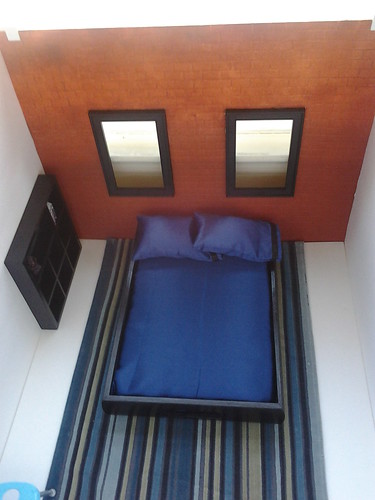
Once that was together I grabbed the pillows, set the bed in the room on top of a nice fabric table placemat I picked up that makes a nice area rug, and snapped some pics.

2011-10-25 12.41.25

2011-10-25 12.44.19

Next up is to work on the nightstand, windows, and finally some artwork for the walls.

Stay Tuned and thanks for following.

10 October 2011

UPDATE: APARTMENT PROJECT

OK, so I have some updates for the apartment, well the bedroom so far at least.

So I left off last post with the basic 4 walls of the room. During this past week I have added the window frames and done the one wall in brick as my design was planned. Some interesting things to note along the way though.

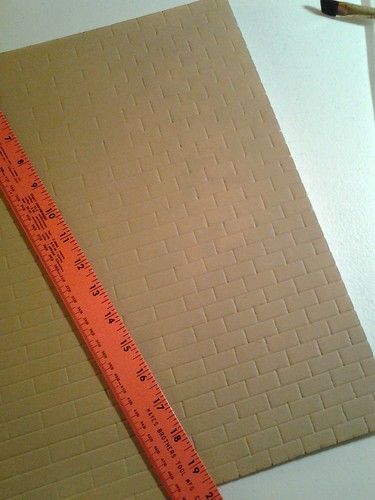
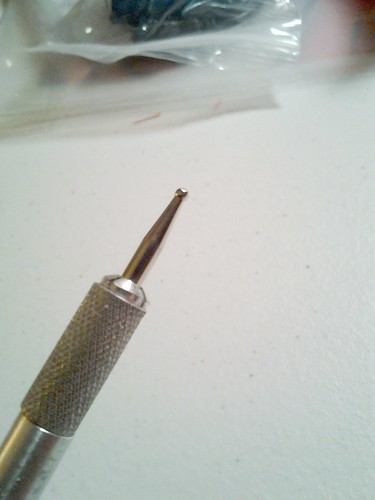
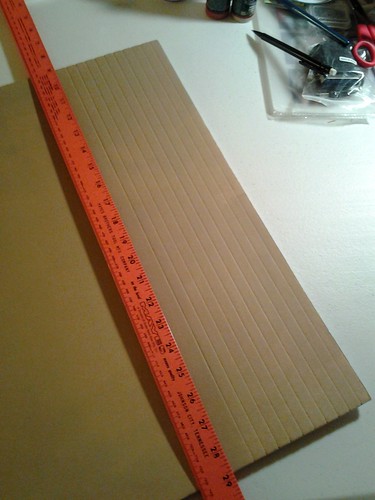
As I said, part of the design for the apartment had one of the walls as red brick, so I wanted to stick with that. I started by thinning down some acrylic tan paint to paint the foamboard. I found that from a test piece, that when painted, the acrylic impregnated the paper and made it take the scoring better without causing as much tearing as it would have on the bare paper. I then took my burnishing tool and after measuring out the 1/2" increments on the foamboard I used my ruler to scribe the brickwork into the board.
2011-10-09 21.24.25

2011-10-09 21.24.41

2011-10-09 22.31.50

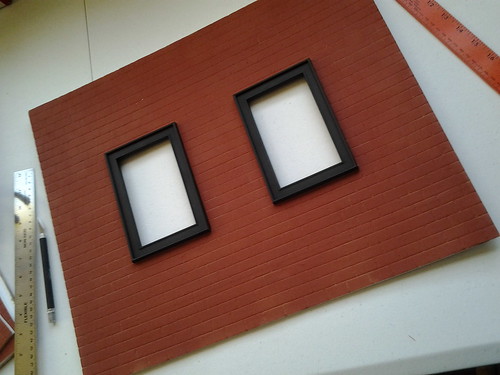
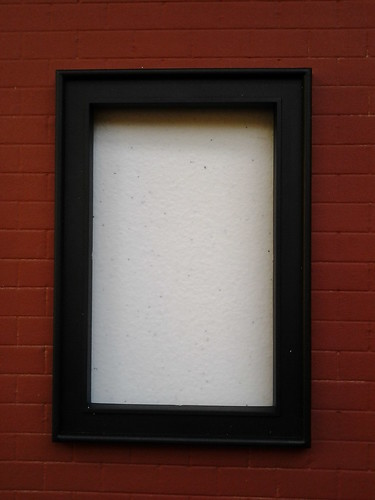
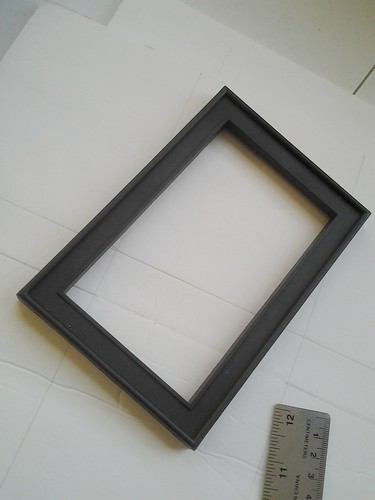
My original plan was to use a tan undercoat as the mortar, then drybrush / roller paint the red for the bricks. However it didn't look as good as planned after. So once all the brickwork was done, I just painted over the entire piece with the red I planned on using for the bricks. Once that was dry, it was time for the window frames. I found some nice plastic dollar store picture frames that I thought would work nicely.
2011-10-10 08.00.15

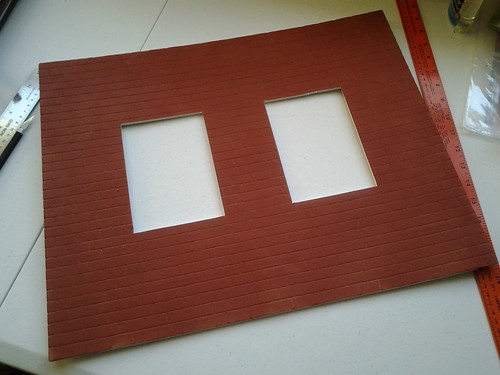
So I measured my holes for the frames and cut them out. Then test fit the frames in place.
2011-10-10 08.04.53

2011-10-10 08.07.10

2011-10-10 08.07.21

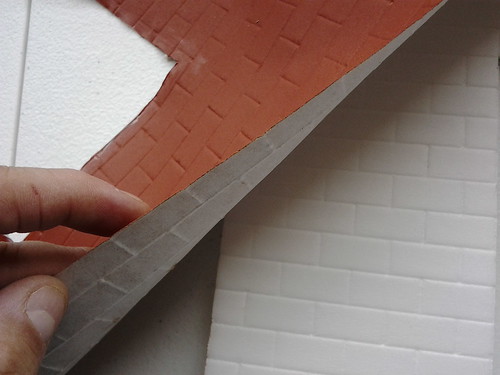
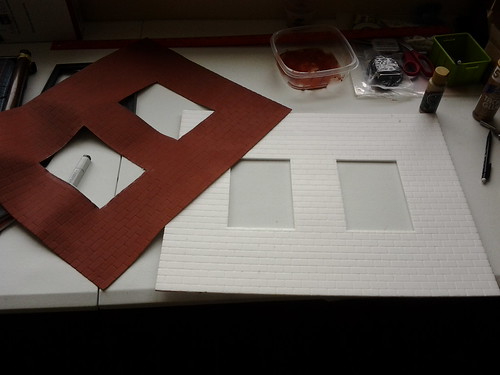
Now, I had mentioned that there was something interesting of note during this project. Now that would be what happened after the window fitting. It would appear that the edged of the paper started to come loose. So I peeled it back some and was going to glue it down again, only to find that the entire paper covering peeled off with ease. So, I peeled it all off... in one whole sheet to expose the foam underneath, which still had the perfect brick pattern on it. I guess the thinned paint as well as the scoring loosened the paper adhesive.
2011-10-10 10.32.35

2011-10-10 10.32.12

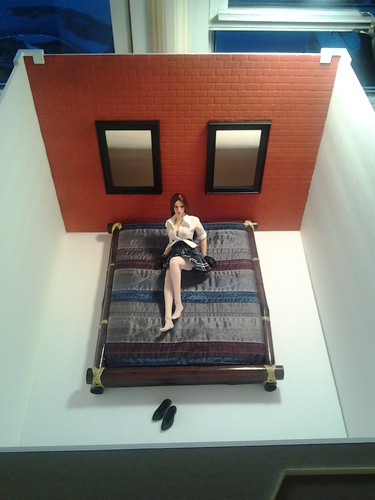
So, I simply went with it and repainted the foam with the red paint once more, and proceeded to glue the windows in place. Once the windows were dry I then got my foamboard clips and pins, fit the walls together, inserted the floor, then placed an old bed in there for scale, and set Gillian in her bedroom to inspect the construction so far.
2011-10-10 18.26.25

So the next steps to work on will be the doors and windows... stay tuned...

Thanks for following.

28 September 2011

LOOK!.... IT'S AN UPDATE!

OK, so I've been behind on keeping up with trying to get at least one blog post done each week, but I am happy to say that I do finally have some stuff underway.

2011-09-26 12.31.32

So, what I am finally getting around to is working on building that scale apartment for Gillian that I've been wanting to do. Whilst I originally wanted a very grand styled loft apartment, I did have to succumb to realism and make something that could be broken down rather than a static 5 foot by 3 foot piece. So for now I have the bedroom under construction.

2011-09-26 13.41.30

2011-09-26 13.51.32

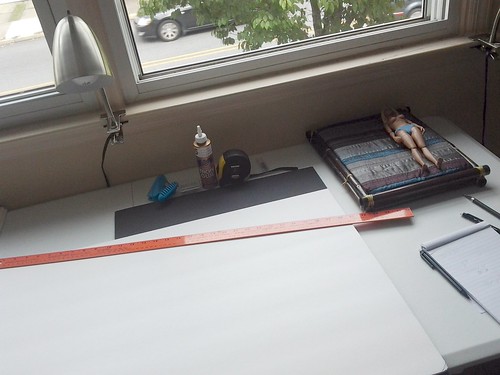
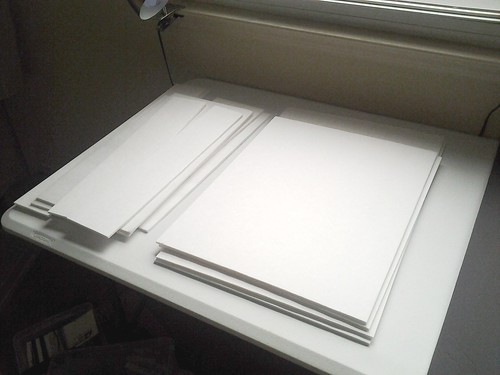
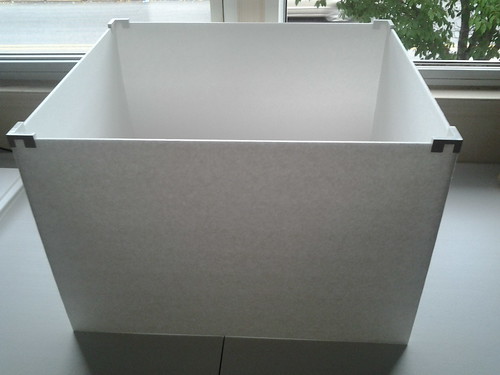
The bedroom will be 20L x 24W x 16H. So I cut down my 20 x 30 foamboard sheets making two 20 x 16 pieces and two 24 x 16 pieces, saving all the scraps for later of course.

I have foamboard clips as well as T Pins that will be used to hold the pieces together.

2011-09-26 14.03.53

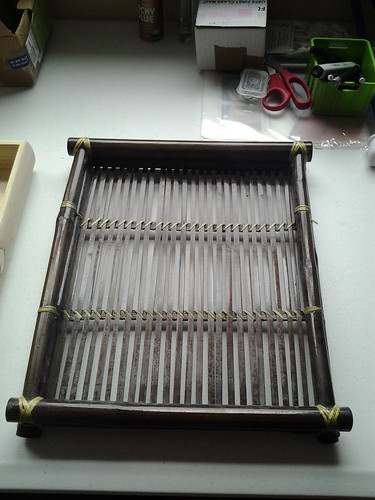
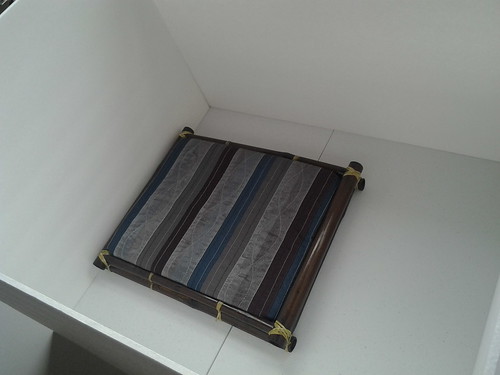
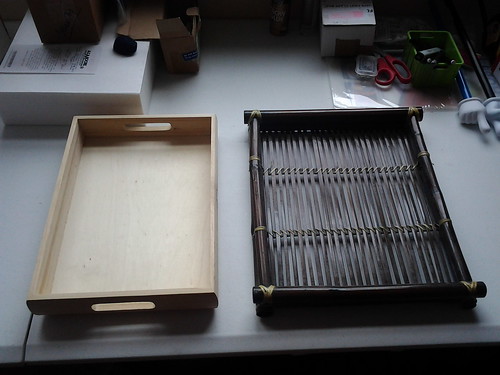
Old simple bed made from a bamboo tray used to give an idea of size.

2011-09-26 14.03.39

My next update will have more pics of some of the other things that have gone into the construction since, such as picture frames that I found for great window frames, and of course adding in the trim and faux doors.

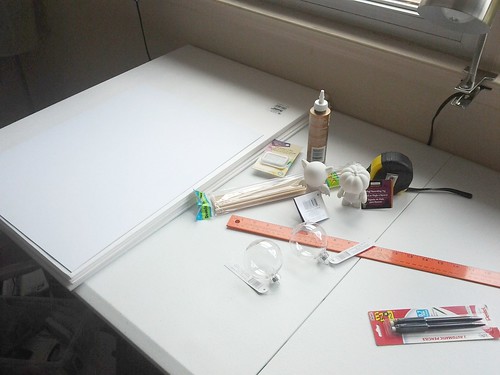
Also on a side note, here are some pics of other neat things I found while I was picking up supplies for the apartment project.

2011-09-26 12.32.30

2011-09-26 12.32.40

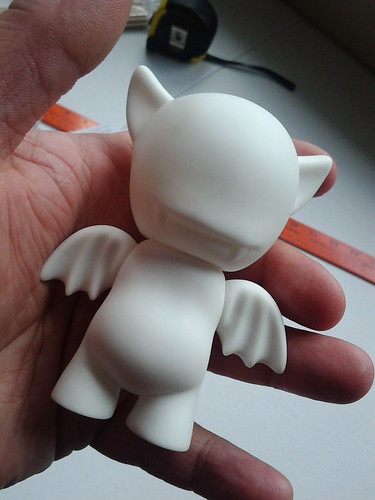
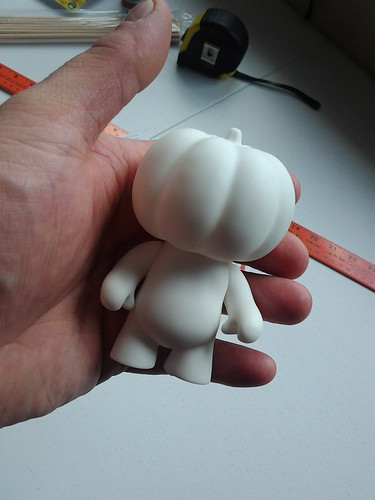
I guess with the popularity of  KIDROBOT's "MUNNY" DIY Rotocast figures, other companies have caught on and started making them as well. These are two Halloween themed vinyl DIY figures I picked up for 2 bucks each at Michaels craft stores. I figured they would be something neat to work on.

2011-09-26 12.31.47

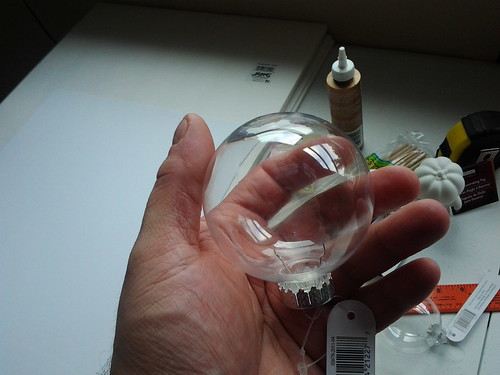
And this is a plastic DIY Christmas ornament I found at Michaels as well, This I plan to cut up and try and make a retro style sci fi globe helmet for my retro space babe version of Gillian.

More updates soon! Thanks for following!

28 August 2011

MUSINGS...

Hey Everybody,

It's been a while and I'm a bit overdue for an update. I have been thinking a lot about why I don't update that often. I've only ever wanted to have updates to my blog that actually had some sort of content and interest: Works in progress, completed works, custom pieces, various ideas, etc. I see many a blog, not just 1/6 out there that post daily if not more than daily, and this isn't meant as a slight to other 1/6 bloggers, more just my commentary on a personal view of blogging. I follow several blogs that all I see is the posting of every new item coming out ad nauseam... I'm sorry, but just re posting the promo pics of the latest Hot Toys / Toys City / TTL figure that probably has more than likely already been seen on every other board and forum on the net is just silly. I understand and think it's fine to post the occasional item that really excites you, etc... I've done that such as when the ACI 5.11 pant and shirt sets came out... but as I said, more than that doesn't constitute content in my eyes. Anyhow, I just thought I'd share a little more insight into one of the reasons I don't post that often. I apologize if that offends anyone.

So, moving on... What is in the works? Well, I still have many projects that I want to get to work on, but being shorthanded at work and picking up extra hours has put a bit of dampener on some of that, so it's only been a bit of work here and there.

I've been working a custom MP5 for one of my characters. I added a M4 style collapsible stock on it, an HK Claw mount with an Aimpoint sight, and also made a custom quad stack magazine for it. My first version came out OK, but I will probably make another one when I get some more styrene.

I've thrown together some more gear, and swapped out some gear on a couple customs that are already underway. I have been working on a modified load bear harness turning it into more of a corset design for my post apocalyptic survivor outfit for one of my custom Gillian Faire characters.

I do hope to get some pictures of all this stuff so I can actually have a decent post soon.

Thanks for following.

29 July 2011

REVIEW: SIDESHOW TOYS G.I. JOE STALKER
Hey Everybody,

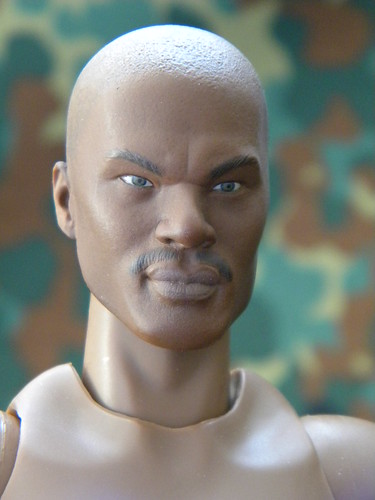
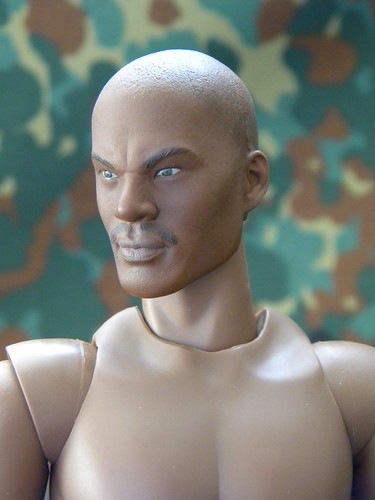
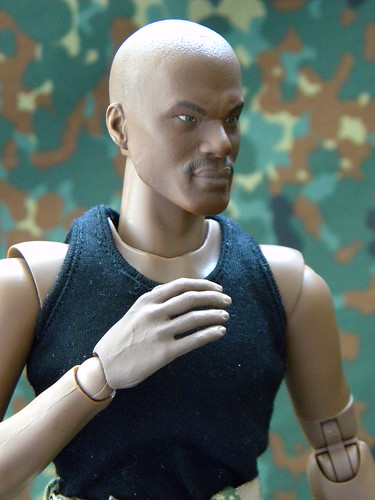
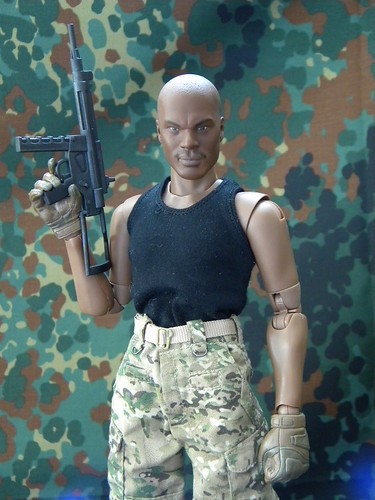
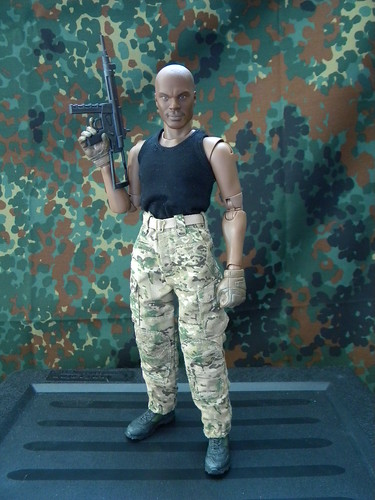
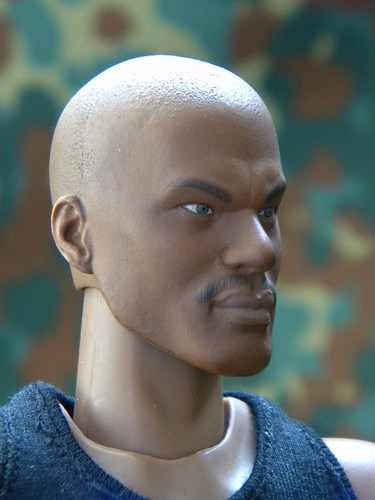
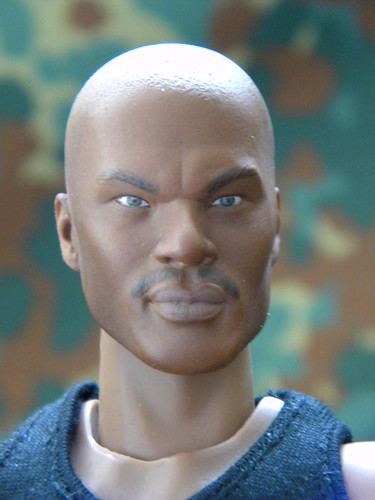
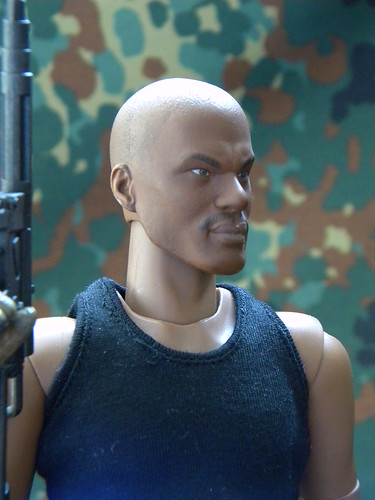
So this is one of the last things I got before having to reorder my finances. I didn't purchase the entire figure, more just the nude figure and some of his accessories. I'm not super keen on many licensed products, but often those products tend to yield good headsculpts and parts that would make for nice personalized projects. So when Sideshow's G.I.JOE: RAH Stalker was unveiled, I knew I wanted his head. Stalker has one of the best ethnic sculpts I have seen in a long time. So luckily, I just happened to have caught a Toy Anxiety part out at the right time shortly after his release. So I ordered his headsculpt.

SST STALKER (14)

SST STALKER (12)

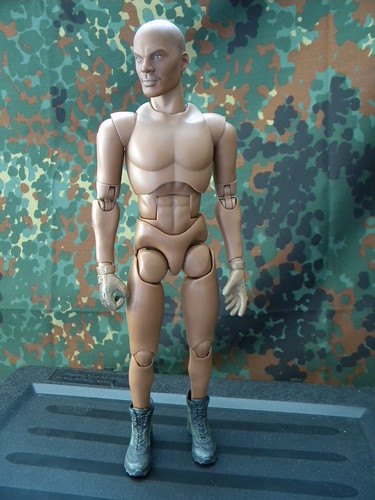
I was hesitant to get his body, as I had heard some off putting things about the Sideshow Prometheus body, but rather than worry about a skintone match trying to put him on another body, and being that this is like the 3rd generation of this body, I thought it was safe enough to try. I have to say that the body isn't bad. It's rather on par with the Toys City male bodies. It only has a little play / looseness in the ankles, but that's really it, overall it was decently sturdy.

SST STALKER (11)

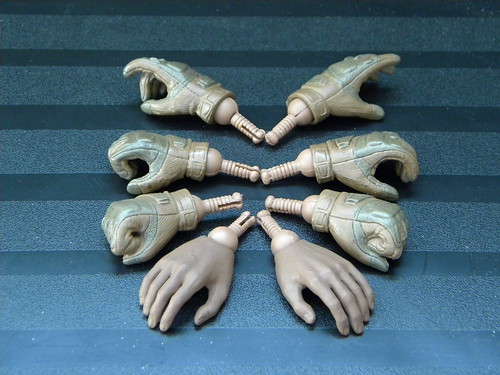
Something I like with Sideshow's G.I.JOE figures is the hands... on average each figure comes with 6 hands (Some even more)... 3 poses for each side to accommodate a variety of accessories. I ordered an extra pair of gloved hands for him as well so I would have extra wrist posts to put a pair of Hot Toys relaxed hands from the Barack Obama-esque True Type, so that my figure could have relaxed bare hands. They are a fair enough skintone match.

SST STALKER (8)

SST STALKER (1)

So the other accessories I got from Stalker were his old style 3.75" figure's HK MP5-esque submachine gun, which was OK, not the best piece, I think they modeled it directly after the 3.75" weapon... because it has just about as much detail... in retrospect I'd have passed on this piece having seen it in hand first.

SST STALKER (6)

SST STALKER (5)

I also ordered a pair of his Khukri knives... they are a piece of art. Nice sheaths that are reversible, and the blades themselves are fantastic. I didn't snap any pics of those as they are on the workbench in preparation for addition to a project. Overall I am quite pleased with the figure. I will probably do an eye repaint like I normally do on all my figures, but for now he's good until I decide who he is going to be.

SST STALKER (3)

SST STALKER (2)

SST STALKER (4)

Thanks for following,